Model and eCommerce Photography Development
During lockdown, we spent a long while refining our product photography workflows. This helped us produce more content for our clients’ time and budget. Now, with restrictions lifting, we thought it was time to do the same across our whole photography offering, from eCommerce to model. So, in May, we booked our own studio for a pair of development days.
We’d use these days to shoot product, model, eCommerce, lifestyle, creative still life, and 360 photography across a set of products, finding how best to streamline our workflows to create even more value for our clients.
This blog will cover the whole process, from planning to the finished shots. What’s more, since this isn’t a client project, we can be a little more upfront and transparent about the way we do things. You’ll learn about the work and thought that goes into photography shooting, and what each type of photography is for. We’ve also made a video rundown of the day, which you can check out here:
Preparing
Brief, Planning, Products & Deliverables
For every project we undertake, the first step is writing a brief. It’s common for clients to provide us with a brief, or for us to write a brief in partnership with a client, but in this instance we were writing for ourselves. We included descriptions of why we were undertaking the project and what we needed to get out of it. Next we added audience details and who would be responsible for different aspects of the project:
- Creative direction
- Project management
- Model casting
- Prop & set sourcing
- Shooting
- Editing
With the brief and objectives laid out, we came up with a plan. We set dates for the shoot, then worked backward to set milestones for ordering props, creating moodboards, casting models, and more.
Next, we determined the products we wanted to shoot by looking at our current and desired future clients. We settled on handbags, jewellery, and a dress. With this decided, we created a list of ‘must have’ deliverables, turning these into a shot lists that would guide both shoot days.
Moodboards
Knowing what we wanted to achieve, we moved on to creating moodboards. For those unfamiliar with the concept of a moodboard, it’s a set of images (often paired with text) used as a reference for shooting and shoot planning. Moodboards set the shoot tone and feel, often indicating the kind of colour palettes, compositions, and styles to be used.

We visited the websites of popular fashion brands (e.g. Nordstrom, Asos) and looked at their photography with a critical eye. We noted what worked and what didn’t, paying attention to common themes and trends that cropped up across multiple brands. Findings from this exercise inspired the moodboards we created for model, lifestyle, product, and creative still life photography.
Model Casting
Model casting is usually done through an agency, in this case BMA Artists. We wrote them a list of things required of the model, including experience working with fashion brands and the ability to walk on set. This last one might sound a little simplistic, but we can assure you there’s a BIG difference in results from models who can and can’t do this.
BMA compiled portfolios for models meeting our criteria, from which we created a shortlist, eventually settling on model Gulnara A. Gulnara (G, for short) turned out to be a fantastic choice. She was easy to work with and direct, friendly on set, and clearly knew what she was doing. We can’t recommend her highly enough.
Product, Set, and Prop Sourcing
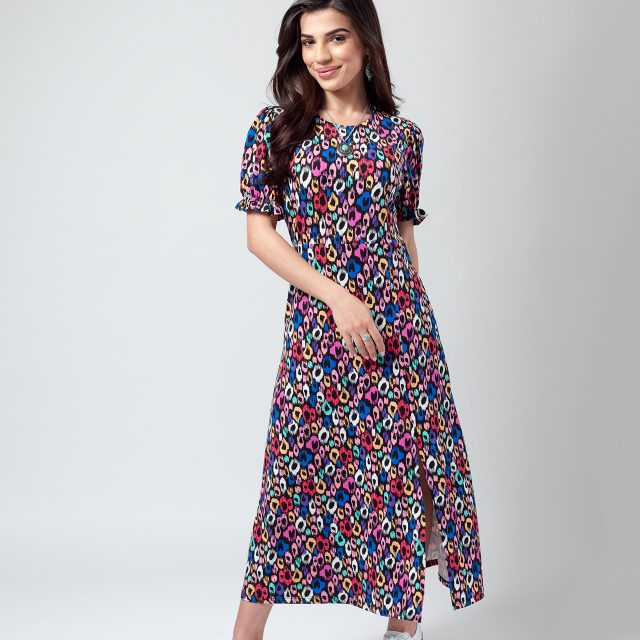
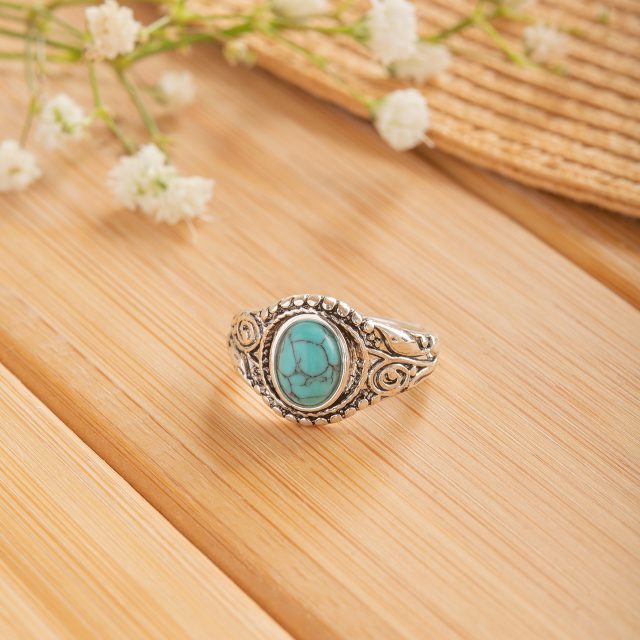
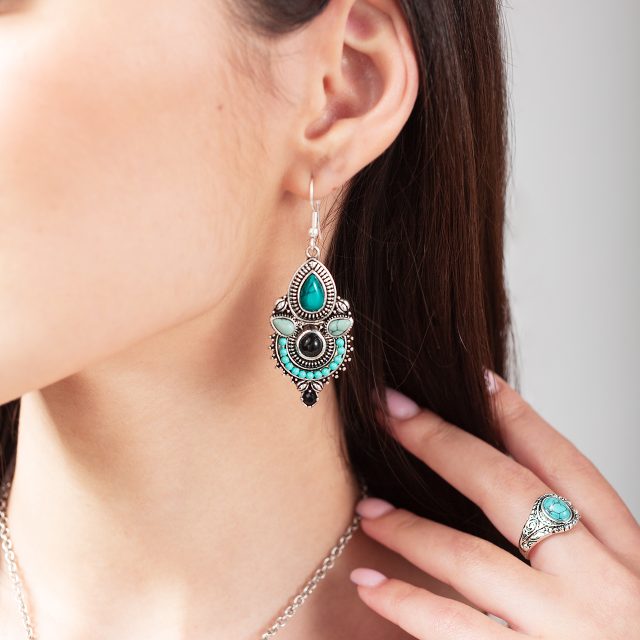
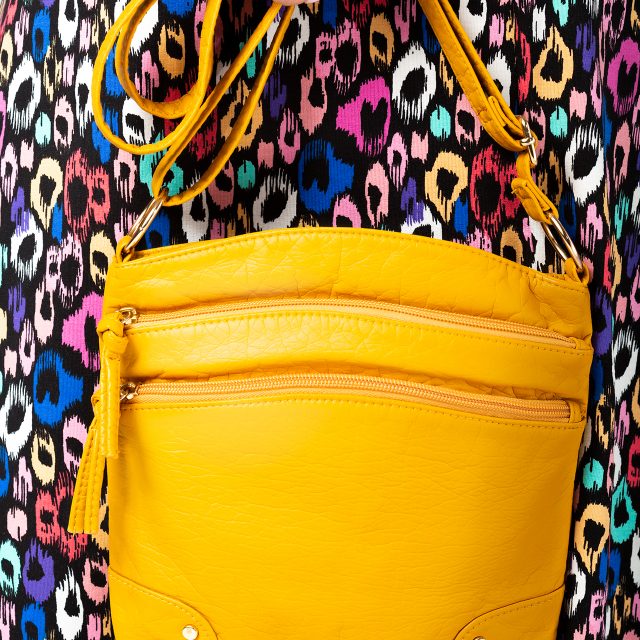
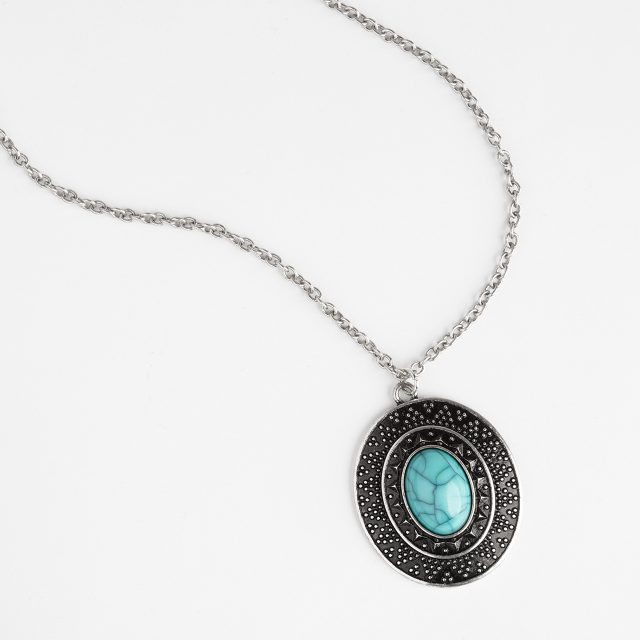
The final parts to plan were sourcing products, deciding on sets, and purchasing props. By this point, we’d already decided on the types of products we wanted to shoot, and now needed to find items we thought would appeal to both new and existing clients. We settled on a colourful dress, monochrome bags, and silver jewellery with blue stones. These products would be shot both separately and as an outfit.
We decided on creating two sets each for product and model photography. One of each would focus on eCommerce, with white or grey backgrounds to ensure nothing would distract from the products. The other would be lifestyle focused, featuring props chosen to imbue the products with personality, letting viewers imagine owning the product.
Model Shoot Day
Hair & Makeup
For this shoot we worked with fantastic makeup artist Natalie Wood. We provided her with a brief for what we were trying to achieve with the shoot (a casual look with an elegant, professional finish), and she nailed it. Once again, we heartily recommend her.
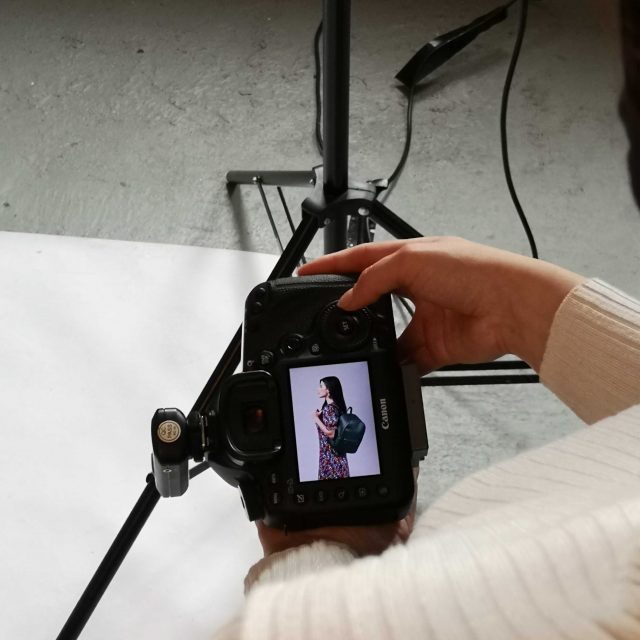
While G was having her hair and makeup done, our photographers got to work finalising the photography set up. They carefully arranged lighting and reflectors, taking test shots to ensure everything was ready when Gulnara arrived on set.
eCommerce
With everything prepared, we started the eCommerce model shots. These are shots designed for website and online shop use. They typically show products in full, with secondary shots showing important product details. Some fashion retailers pair eCommerce photography with eCommerce video, showing what products look like in motion.
With more and more people shopping online, high quality eCommerce photography is business critical for fashion and lifestyle brands. These shots can heighten the success of any online retailer, so attention to detail on these is key.
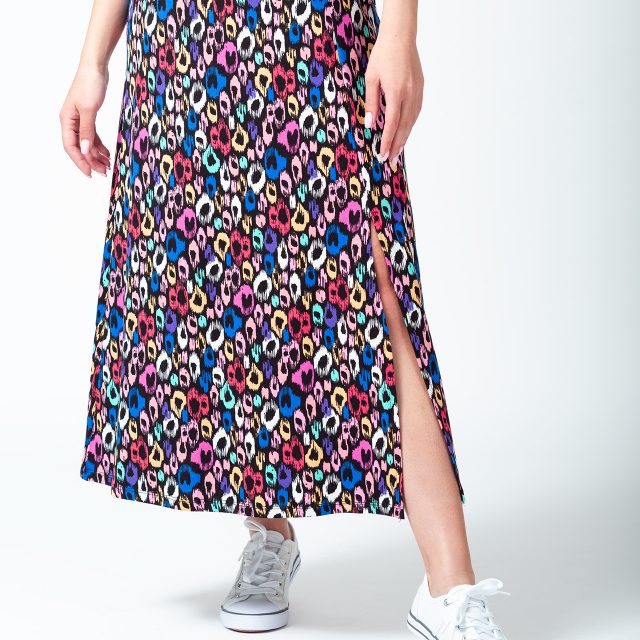
We began with wide-angle, full-body shots of Gulnara wearing the dress, first by itself, then with a bag. To inject a sense of movement into each shot, we asked Gulnara to step into each pose, then vary poses between shots.
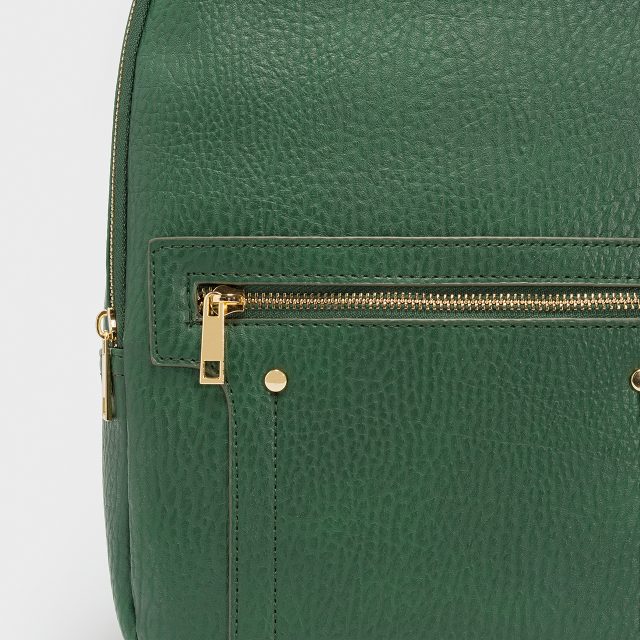
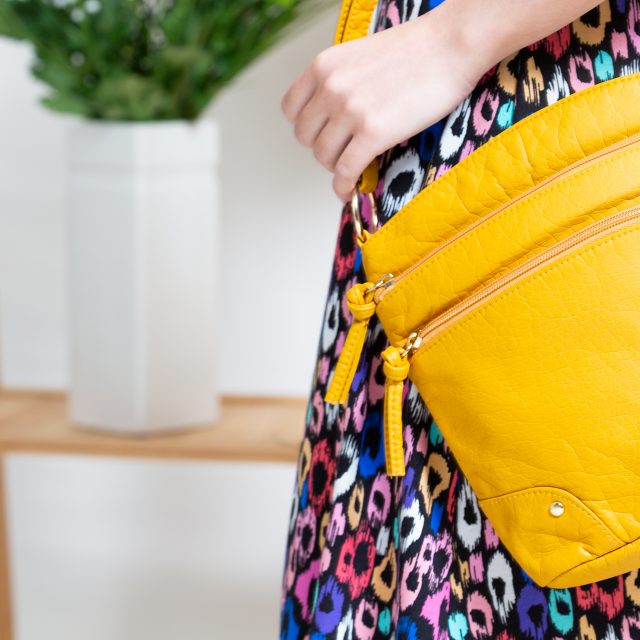
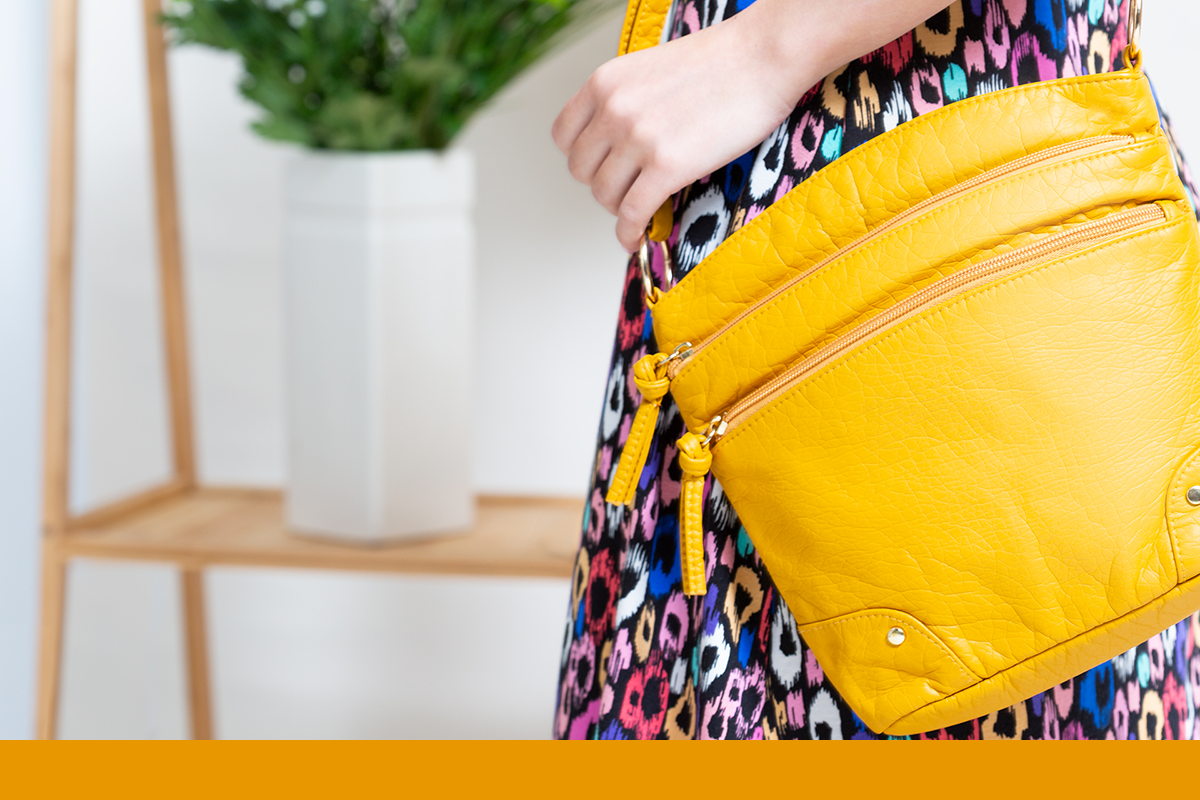
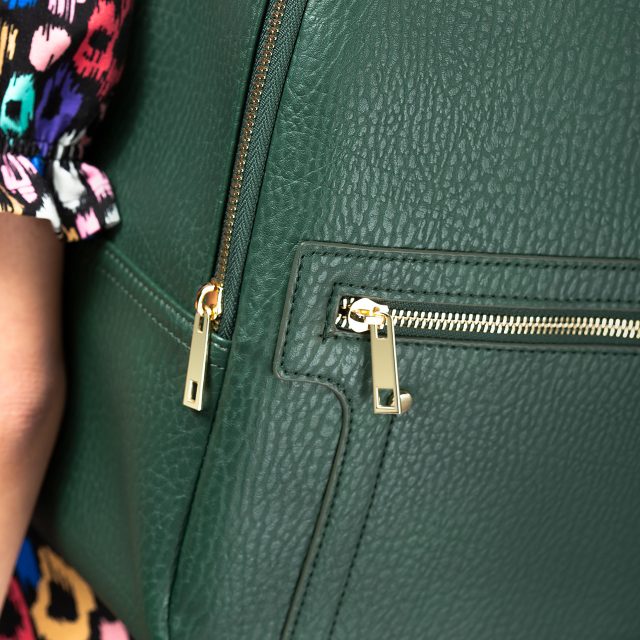
With the wide-angle shots done, we moved in for close ups. As these focused on only a small part of the set and showed very little of our model, we asked G to remain still for these. We captured close ups of product details to show the quality of each piece. We took shots highlighting the fit and fabric of the dress, and the bags’ zips and stitching.
eCommerce Video
Before swapping outfits, we captured some eCommerce model video. These short walk-on walk-off videos are exactly what they sound like. We filmed G walking onto set both with and without a bag. She struck several poses, flowing naturally from one to the next, playfully swung the bag over her shoulder, then walked off.
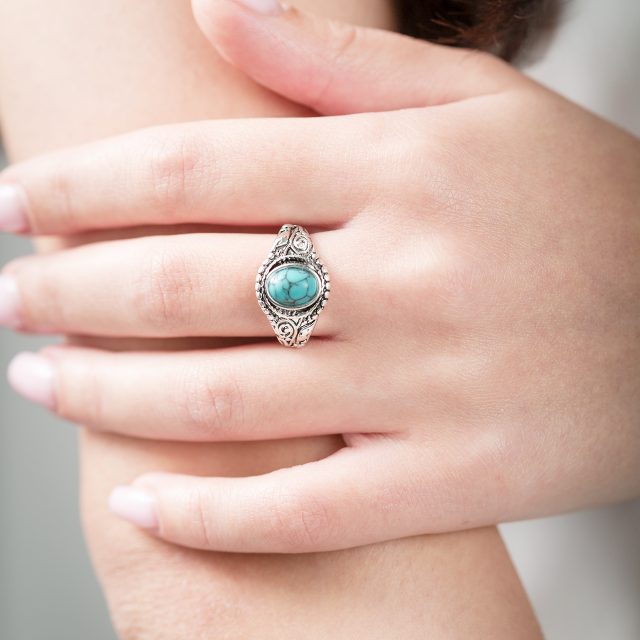
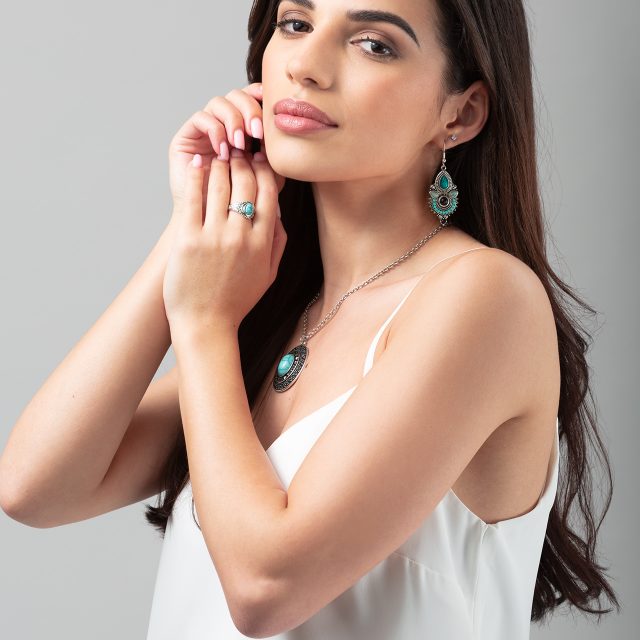
Confident we’d captured everything required for the dress and bags, Gulnara swapped into the day’s second outfit: a simple blouse and trousers paired with our selected jewellery. As these shots focused on jewellery, we didn’t shoot full-body but instead moved closer. We took shots showing off the whole jewellery set – necklace, ring, and earrings – as well as shots focussing on each piece individually.
Lifestyle
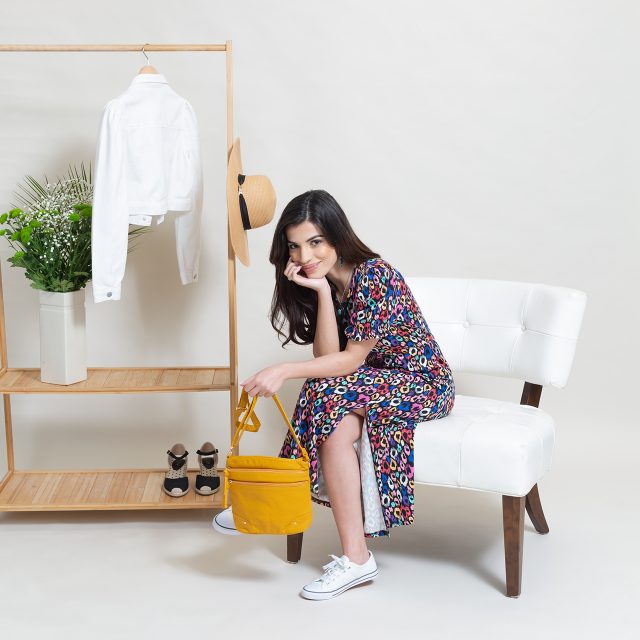
Lifestyle shots are designed to imbue products with personality, indicating to customers what a product might look like in a given scenario. Seeing this makes it easier to imagine the product as a feature in their own lives. You’ll find Lifestyle shots everywhere from websites to magazines to adverts.
The first task was changing the set. We swapped out the white backdrop for a cream-coloured one, then carefully arranged several props. Our chosen props included a lounge chair, a clothes rail, and a selection of plants. We worked through a similar shot list to the one used for eCommerce, capturing everything but detail shots. Detail shots weren’t necessary here, as the set wouldn’t have been visible anyway.
Day 2 – Product Shoot Day
Product Photography and eCommerce
As with the eCommerce model photography, these shots are designed primarily for use on websites and online shops. They show the product by itself, against a plain background with no distracting elements. Close up shots are taken to show important product details; these often help customers decide whether to purchase a product.
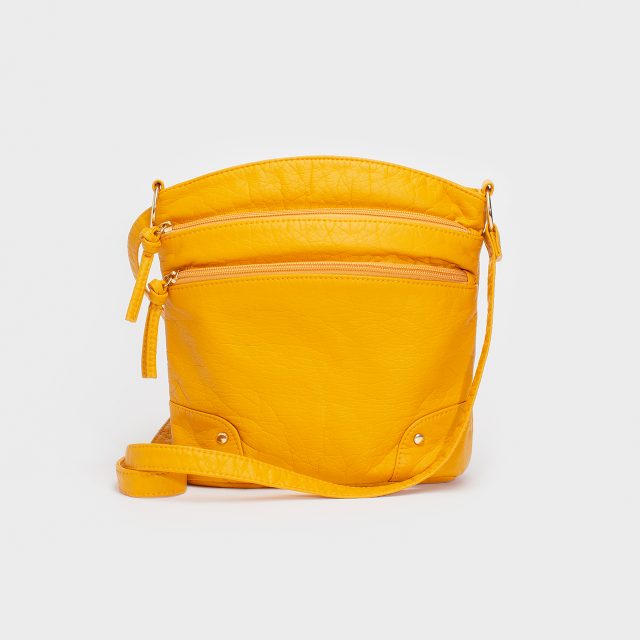
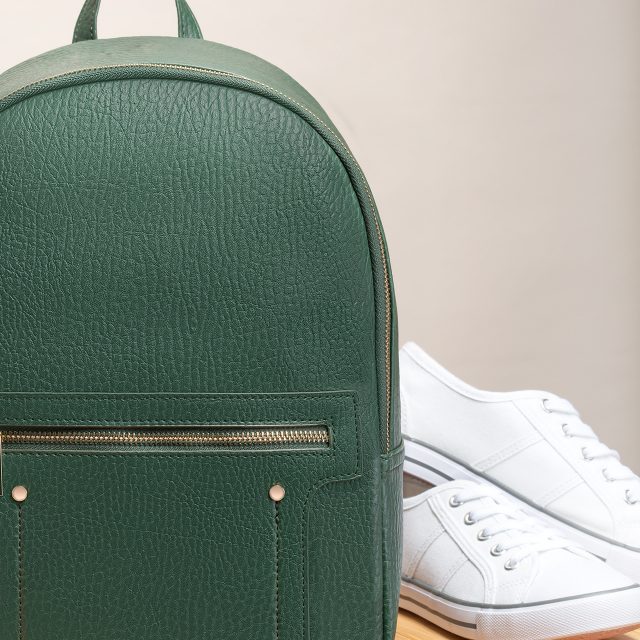
Smaller products – bags and jewellery – were shot on our product table. Products lay directly on top of a neutral backdrop, with diffused lighting creating a soft shadow. We carefully manipulate straps and handles to achieve a natural, elegant curve.
The dress – being a larger product – we shot hanging at an angle. The angle let gravity pull on the dress so that it had a natural flow to it, but not so harshly that it bunched up.
Product 360
It’s becoming increasingly common to see product 360s in online shops. These are usually interactive, and allow you to click and drag to see products from any angle. Product 360s are particularly useful for products with features on multiple sides, helping people arrive at buying decisions.
To make a product 360, we keep the camera still and place the product on a rotating table. We take shots at regular intervals, keeping lighting consistent so that only the product appears to be moving.
For the example below, we took a total of 24 shots, then stitched them together in sequence. Depending on the product in question, it might be appropriate to take more or fewer shots per rotation.
Flatlay
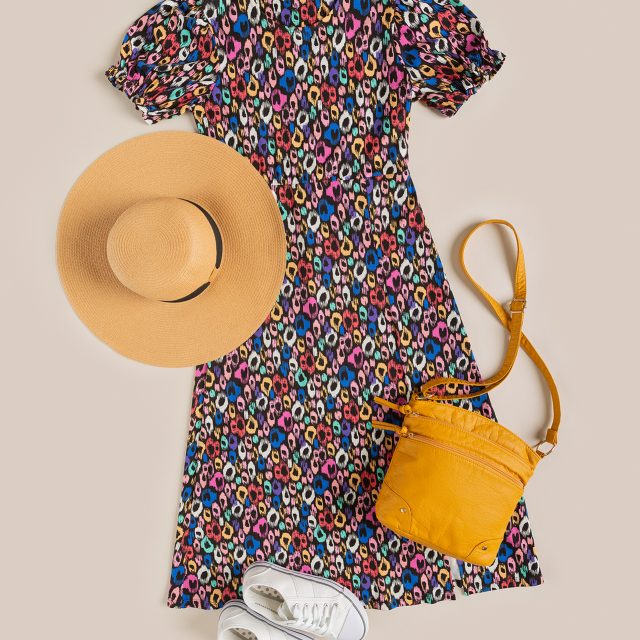
Flatlays can be incredibly useful in fashion eCommerce. They’re great for giving the impression of a full outfit without the requirement of hiring a model. In our research, we often found this sort of thing at the bottom of product pages. Here, brands are using them to show other products that might work well paired with the product being viewed.
We covered a product table with a coloured backdrop, positioning the camera directly above with lights and reflectors around the table. We wanted an image that was both eye-catching and served a purpose. To achieve this, the products were arranged giving the impression of an outfit, with a bit of artistic license taken to make the composition more interesting.
Creative Still Life
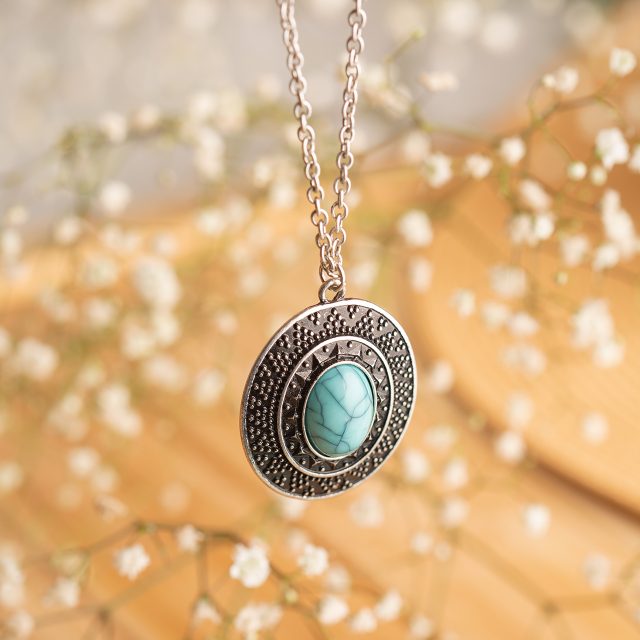
Creative Still Life is similar in concept to Lifestyle photography, but usually features simpler sets and doesn’t feature a model. As with Lifestyle photography, the aim is to help potential customers imagine a product as part of their own lives. Creative Still Life brings the product to life, gives it personality, and draws the viewer’s eye.
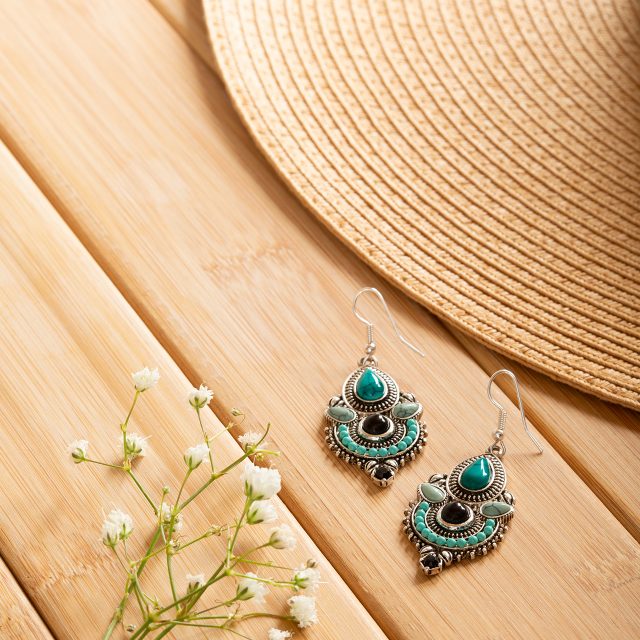
We used some of the same props from the model Lifestyle day to create consistency across our range of shots. The eye-catching nature of Creative Still Life allowed us to experiment more with compositions, giving more artistic results.
Editing
Once all the shooting was said and done, we moved on to editing. Different types of shots require editing that focuses on different things.
For product and eCommerce photography, we focus on eliminating everything that might draw the eye away from the product. This means ensuring backdrops are free from marks or scuffs, and that the product itself is free from blemishes or unwanted reflections. For shots with models, this means checking there are no flyaway hairs overlapping the product.
While we do use make-up and hair styling during shoots, we aim to make finished model shots look natural. This means leaving moles, birthmarks, freckles, and curves untouched, removing only temporary blemishes and distracting tattoos if the model has them. Wherever possible, we try to encourage our clients to be body-positive, and aim never to process models’ skin or features to an unrealistic standard.
For Lifestyle and Creative Still Life, we put a bit more time into editing the area around the products. There’s a tricky balance to strike between removing distracting elements and keeping the surroundings interesting enough to draw the viewer’s eye in the first place.
The Results
By the end of the week, after two days shooting and three days editing, we had a suite of beautiful shots ranging from simple eCommerce shots to more complex Lifestyle, Creative Still Life, and Product 360 shots.
The gallery below shows some of our favourites, and we’d love to know what you think. Even better, if you’ve got a requirement for any of the photography styles we’ve spoken about in this blog, please get in touch. We’d love to hear from you.
